Time to dive in and try something new, I tried my hand at resin pouring for the first time.
Like normal I waited until almost the last minute to get something done. All the time I yell at myself for it, but here we are again! I needed to complete a cosplay for a convention in a short amount of time. I threw together a quick Raven cosplay from the DC Universe and tried my hand at making her gems. Raven has a gem on her forehead and a bunch set in her belt, and I made both.
The Equipment
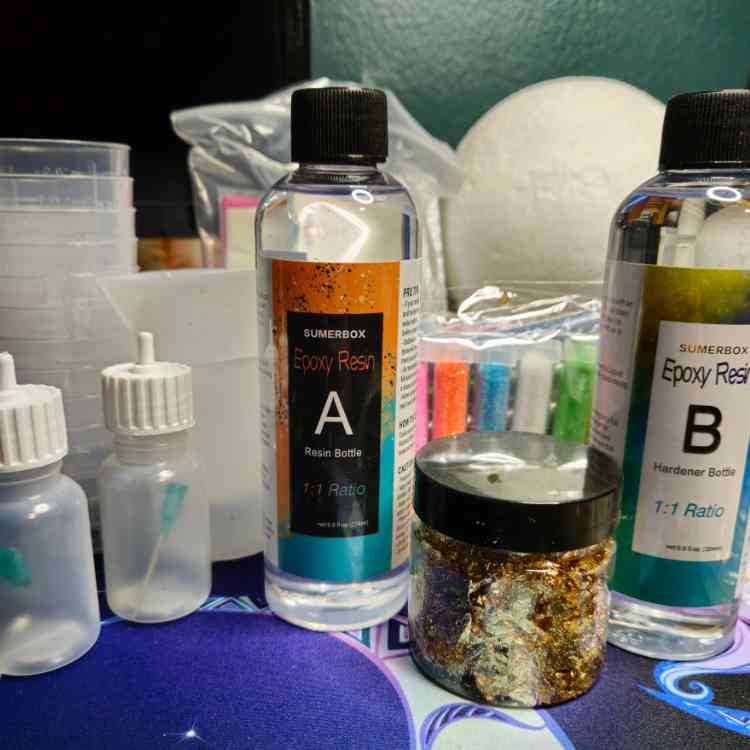
First things first, I spent a couple minutes researching some different resins that work best for mold pouring. There are many different resins for pouring versus sealing. For my first try I used this resin, and hope to try others in the near future to get experience with a variety of brands. (I’ll come back and make another post once I get time to try different brands)
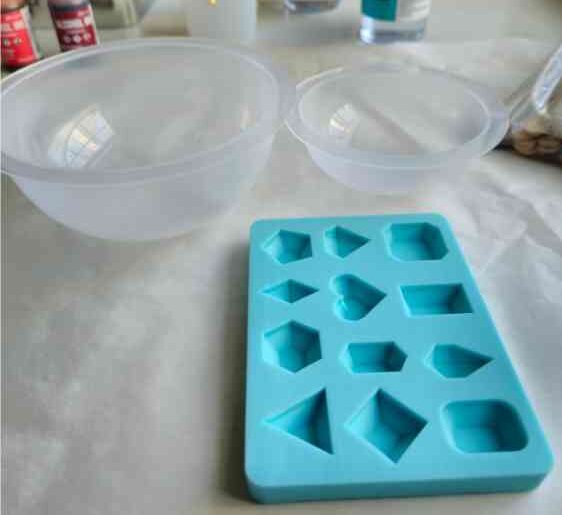
Next I had to find some molds. Silicone based molds seem to be the most recommended. There are a decent amount in the cake decorating area and resin casting area of most Michaels. Amazon has a large variety as well. Both will make pieces that are solid when done. Some are made with holes built in for making pendants or hanging pieces. The resin kit I bought has cups for mixing the resin, but a disposable or silicone cup would work just as well. Many people stir resin with popsicle sticks which are also easy to find at the local craft store. Gloves are also recommended and I prefer to use nitrile gloves. I used some alcohol ink that I had already for adding color.
While not a requirement a heat gun will help, especially when learning to pour. Bubbles tend to get in the resin during mixing and a heat gun will help draw the bubbles out. For while the resin is curing you will also want something to cover the molds with to keep out any potential dust of hair (I blame the dog!).
Pouring the Resin
Always wash the molds before pouring! Don’t learn the hard way like I did, there WILL be dust and other stuff on the molds that you can’t see. Washing right before use will help keep the pours looking clean and beautiful. Make sure the molds are completely dry after the wash as well, resin and water don’t mix very well. If your resin is cold you can soak the containers in a bowl of warm water while you clean the molds, but again make sure you dry the bottles before you use them.
Combining the resin and hardener seems to be the most tricky part. Measure the same amount of each part and combine. When I was mixing mine together I found it a pain to mix without getting a ton of bubbles in it. The less bubbles you get when mixing, the better. If I had been pouring into a mold that doesn’t have an open top I would have been unable to get all the bubbles I made out. I’ll have to do some research on the best practices for mixing with minimal bubbles.
If using an open top mold like I did it’s pretty easy to get bubbles out, as long as the mold isn’t also tall. At first I tried pulling the bubbles out with a handheld lighter. That was not fun and not effective at all. So I grabbed a heat gun and waved it over the mold. That helped get the majority of the bubbles out. Before I walked away, I put a large cardboard box over my molds, both to hold in heat and to keep the doghair out. My dog is a massive shedder!
For resin to cure it needs to be in a warm area. Most brands recommend keeping pours in an area that is at least 70 degrees Fahrenheit. Curing also takes a decent amount of time if you want the end result to be completely hard. Most will take over 24 hours to fully harden. I pulled my small gem out of the mold after about 18 hours and it was solid but had some bend to it. It was easy enough to put it back in the mold, and I let it sit another two days, after which everything was completely solid.
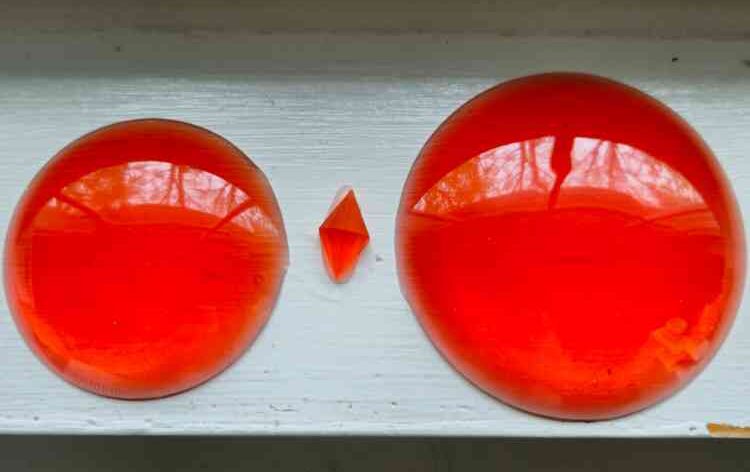
Needless to say, I still have a long way to go to become proficient at resin pouring, but practice makes perfect! Here’s a picture of what I got from my first pour.